Mead is an easy ferment anyone can make. If you’ve ever wondered how to make mead at home, this beginner-friendly 1 gallon mead recipe walks you through simple, modern brewing practices step by step.
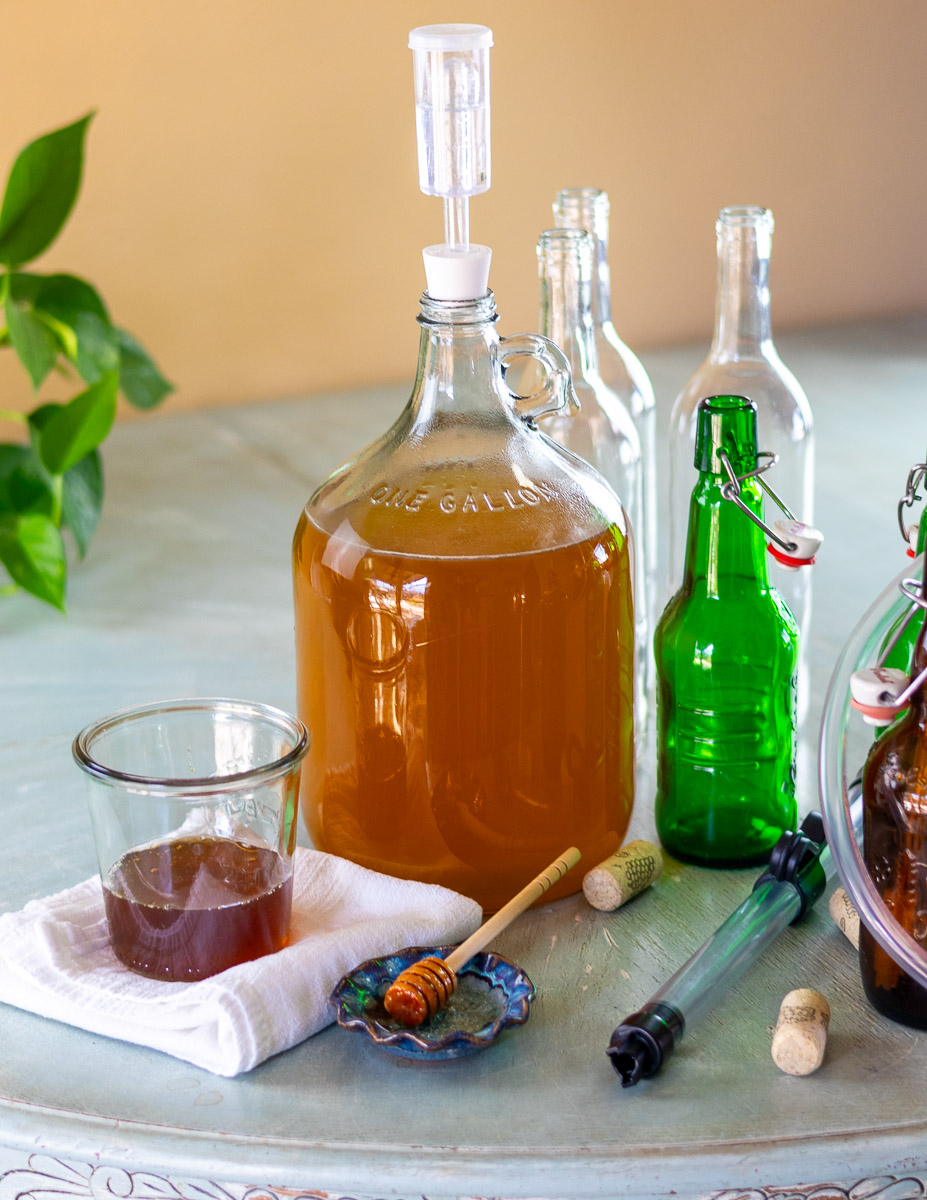
Mead is an ancient honey wine and a perfect gateway into the world of home brewing.
Traditional mead, often called a “show mead,” is made with just honey, water, and yeast. The honey is the star of the show, with fermentation adding depth and character along the way.
Mead is both a ferment and a method of preservation, just like hard cider, skyr, preserved lemons, and sauerkraut, such as my juniper caraway sauerkraut.
Jump to:
Why This 1-Gallon Mead Recipe Works
There are tons of mead recipes and methods out there, but this is the one that has worked well for me. It’s simple, reliable, and beginner-friendly. It's perfect if you like to understand the process, willing to invest in basic equipment, and can see yourself brewing more in the future.
This recipe is designed to finish dry (with a sweetening option) with around 11–12% ABV. While it may look detailed at first, each step is straightforward - and you absolutely can do this.
With this recipe, you’ll:
- Watch fermentation progress using visual cues and gravity readings
- Use basic equipment correctly and confidently
- Understand when and how to bottle safely
- Learn an easy method to sweeten safely
Homebrewing 101
- Yeast + Sugar → Alcohol + CO₂ - Yeast convert the sugars in honey into alcohol and carbon dioxide.
- Cleanliness Matters - Anything that touches your mead should be clean to prevent contamination.
- Patience Is Required - Mead needs time to ferment, clear, and stabilize before bottling (not a fast process!).
- Temperature Affects Fermentation - Warmer temperatures speed fermentation; cooler temperatures slow it down.
Ingredients for 1-Gallon Mead Recipe
Essential Ingredients
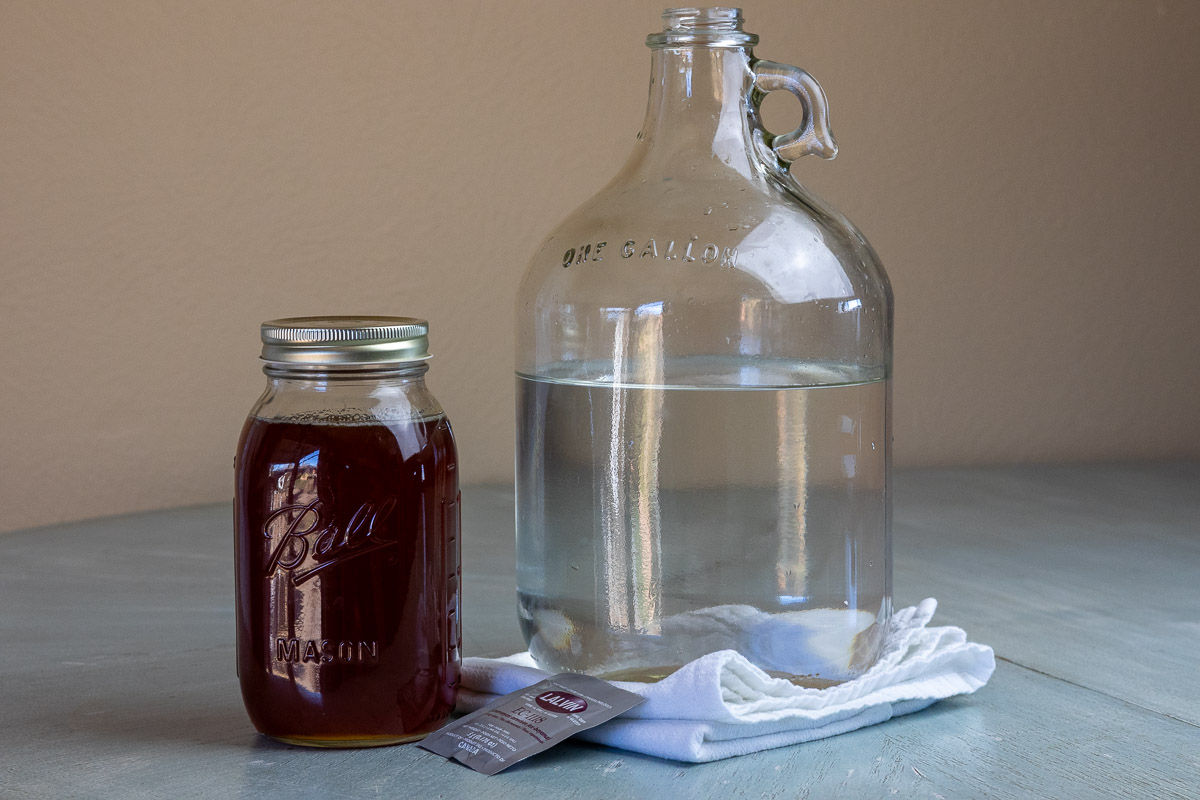
- Honey - Any 100% pure honey will work. As a beginner, use something affordable but good quality, something you like the flavor of.
- Water - I always use filtered water. Spring water is a good option.
- Yeast - A commercial brewing yeast ensures consistency, reliability, and a healthy start to fermentation. Any yeast made for wine or mead will work, but these are especially beginner-friendly options:
- Lalvin EC-1118 - (the yeast used in this recipe)
- Lalvin 71B
- Lalvin D47
Optional Ingredient
Honey on its own is relatively low in nutrients, which is why many brewers choose to add nutrients to support the yeast. That said, nutrients are not strictly necessary.
For this recipe, I chose to ferment without added nutrients to demonstrate that it can be done. The trade-off is a slower fermentation, which means patience becomes even more important.
- Yeast nutrient (optional) - Some organic options include Fermaid-O, and Go-Ferm. Follow the directions on the package.
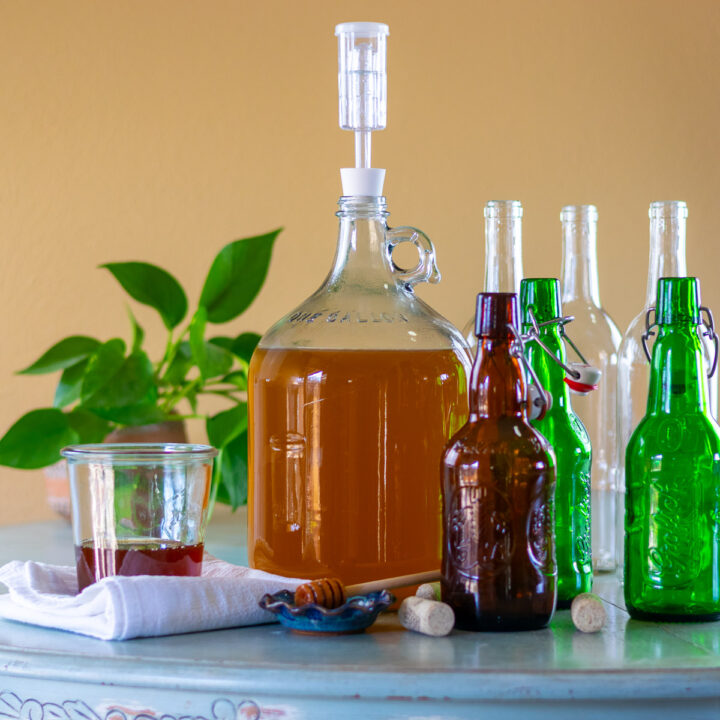
Equipment
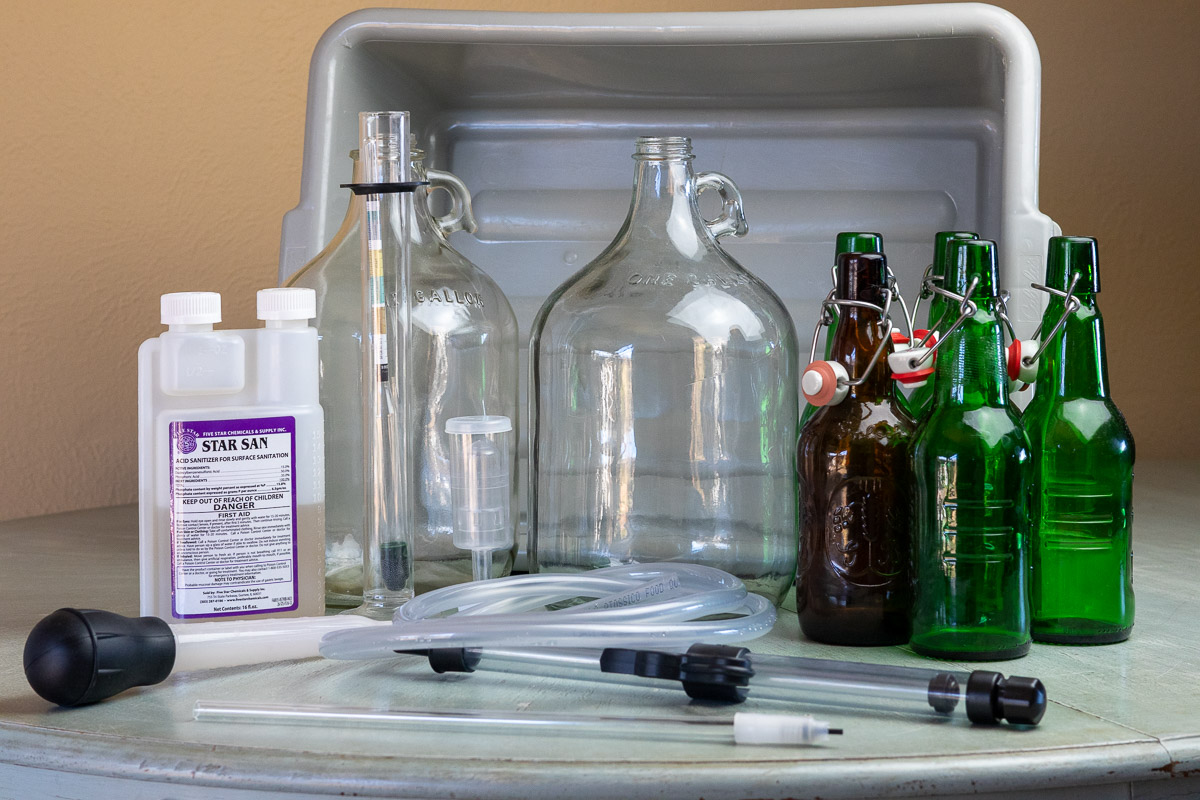
- (2) Gallon carboy fermenters - Gallon carboys are often slightly larger than one gallon to allow room for foaming during fermentation. You may be able to find these secondhand.
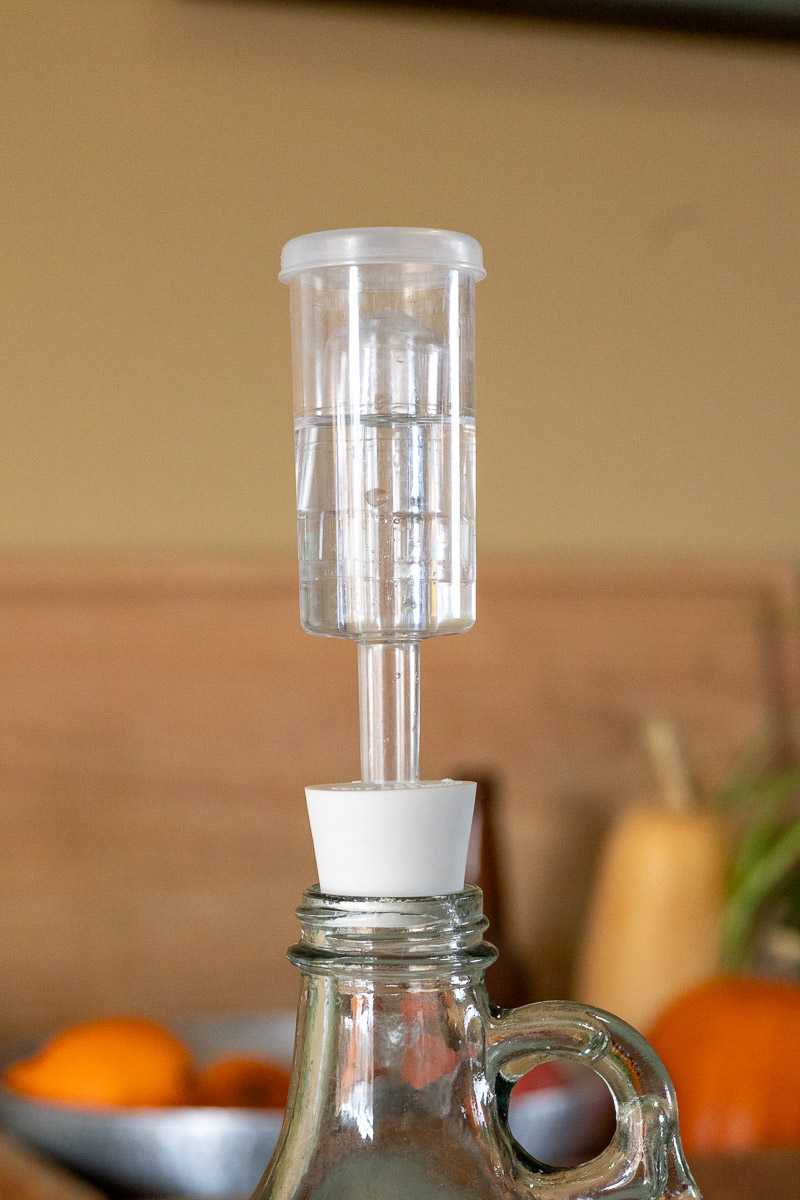
- Bung and airlock - Used to allow fermentation gases to escape while minimizing oxygen exposure and keeping fruit flies out. These are often sold together with carboys.
- Funnel - Helpful for pouring honey and water into the fermenter without making a mess.
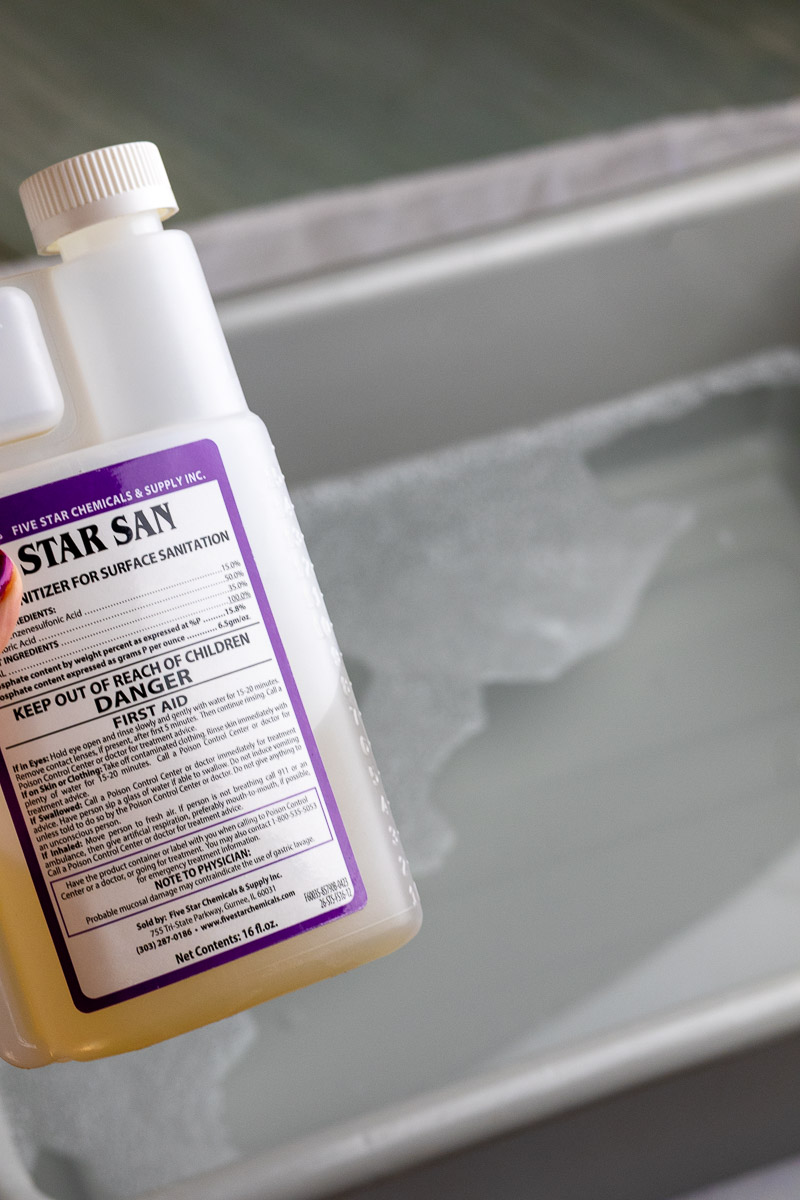
- Starsan - Anything that comes into contact with your must should be sanitized first.
- Racking cane (auto siphon) and bottling wand - These tools are the most sanitary and effective way to move mead without adding excess oxygen. They use gravity to transfer liquid while leaving sediment (lees) behind. If you have never used one, practice with a jar of water first to get the hang of it.
- Bus tub or similar large container - Used for submerging equipment in diluted sanitizing solution.
- Empty bottles with lids - Flip-top bottles are convenient since the lids are attached. You can also reuse screw-top wine bottles or invest in bottles with corks and a corker. Standard mead bottles are 750 ml, but use what you have.
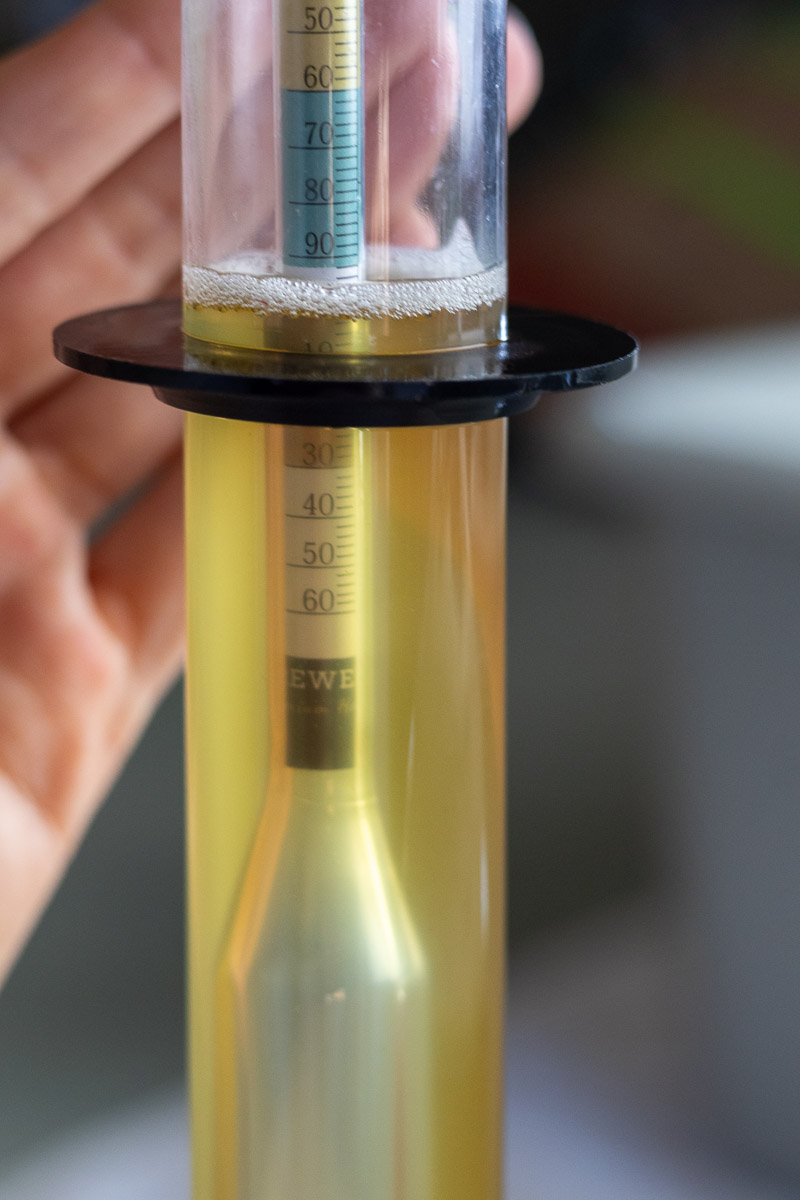
- Hydrometer + graduated cylinder A hydrometer gives valuable information about fermentation progress and helps you know when your mead is finished. Hydrometers are fragile and made of glass - handle with care (ask me how I know).
- Turkey baster - For pulling a sample of must/mead to test.
How to Make Mead Step-by-Step: 1 Gallon Mead Recipe
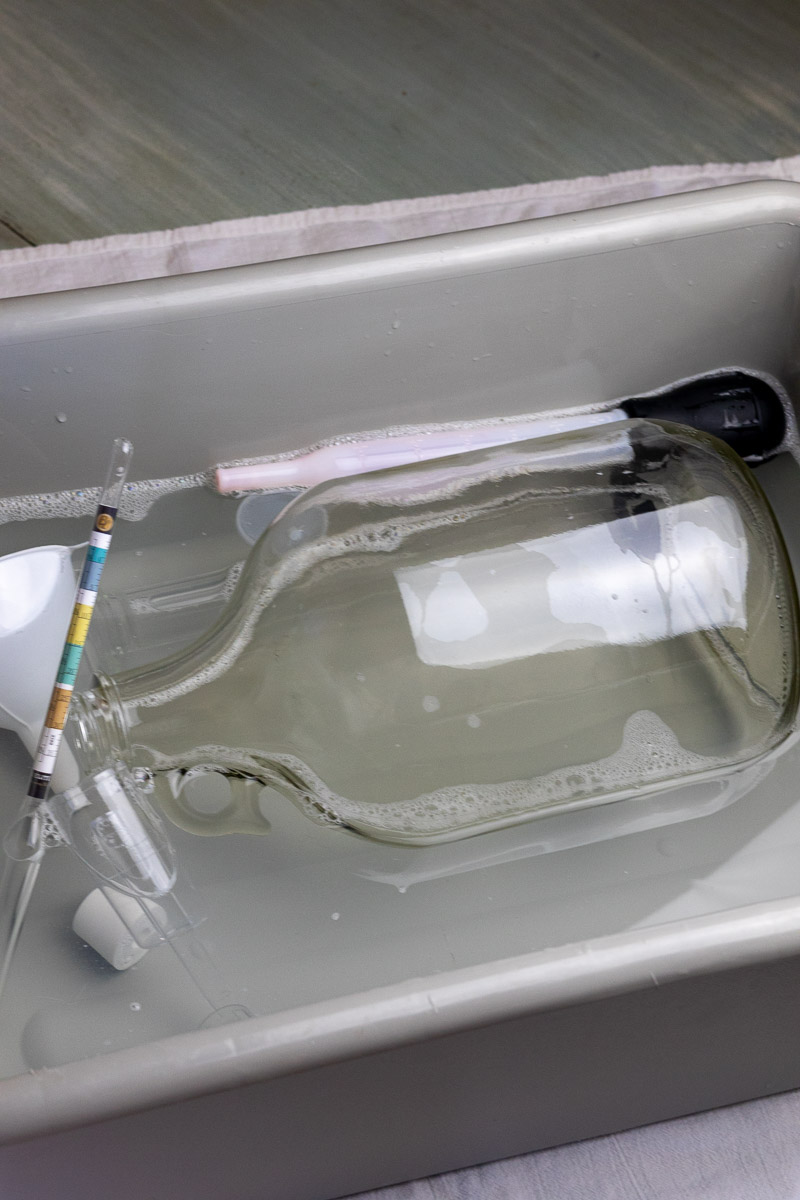
Sanitize and Prepare
Prepare a sanitizing solution according to the manufacturer’s instructions. Submerge all equipment that will come into contact with the mead for at least two minutes, then set aside on a clean towel.
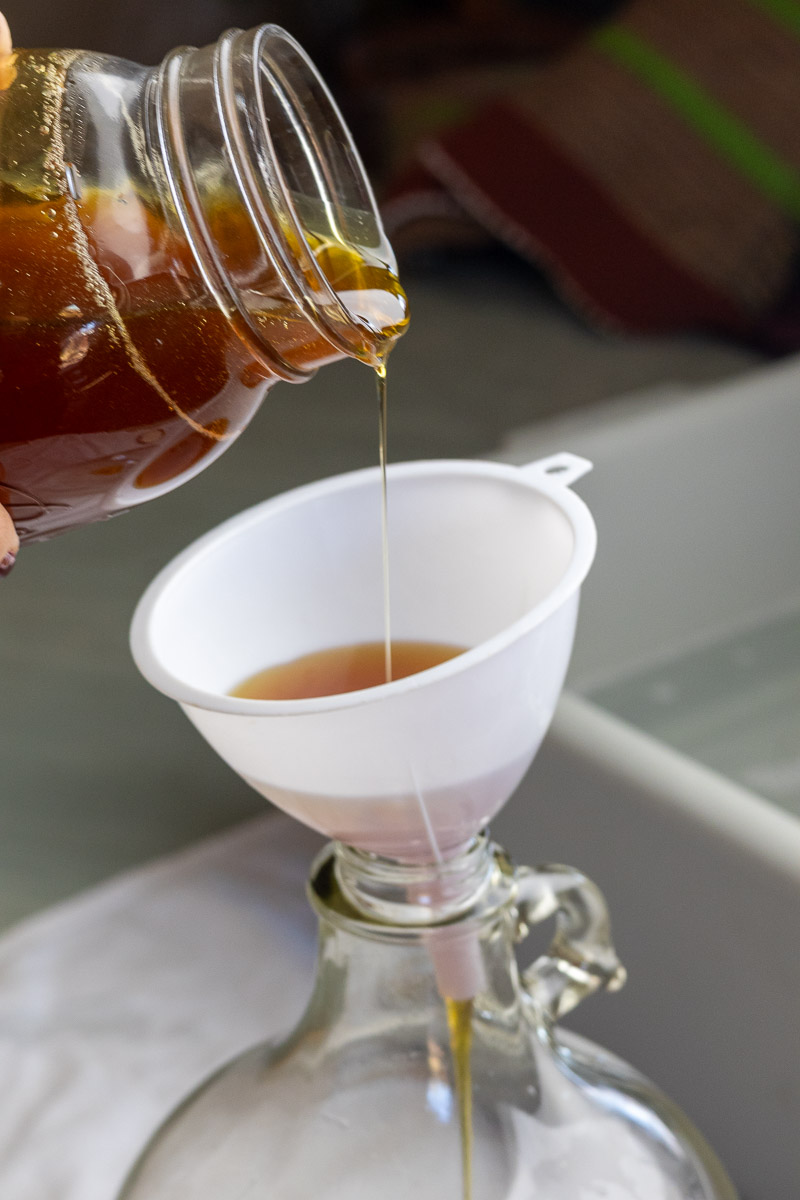
Mix the Must
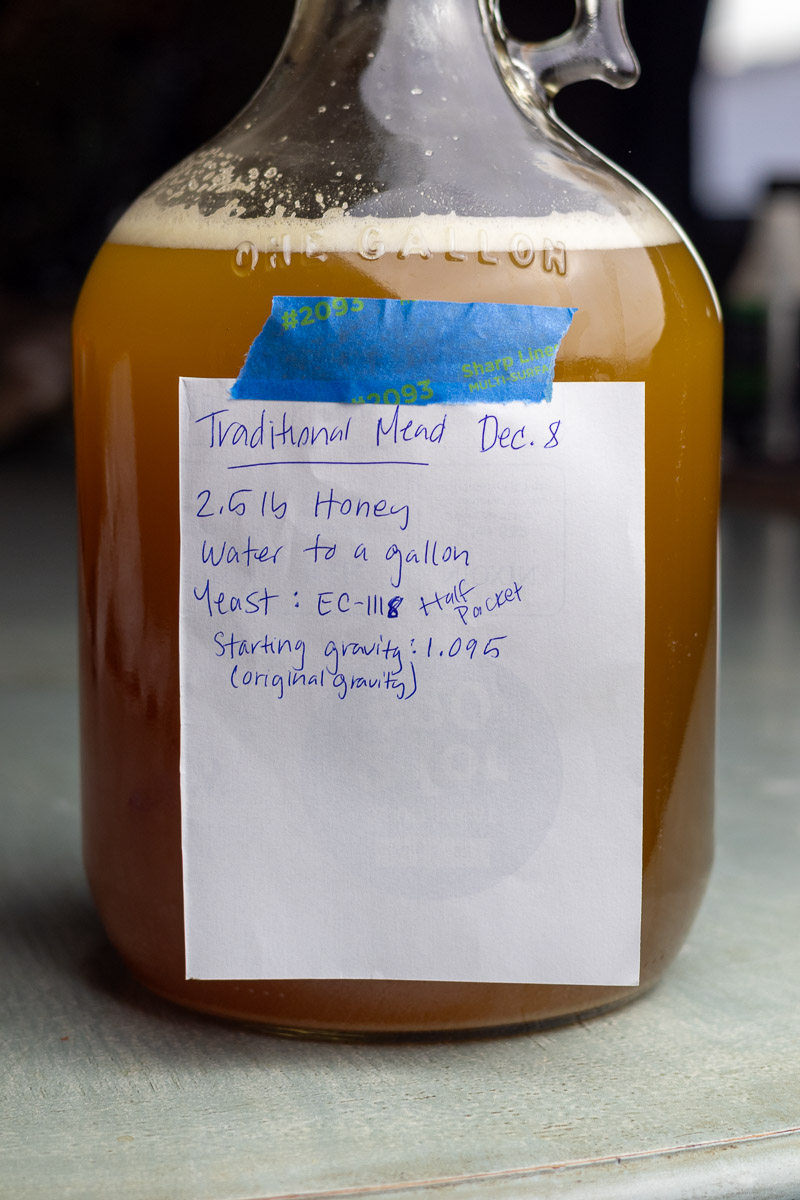
Pour the pre-measured 2.5 lb honey into the fermenter. Add a small amount of lukewarm water to the honey jar, swirl to loosen any remaining honey, and pour that into the fermenter.
Add lukewarm to warm (not hot) water until the fermenter is about halfway full. Insert the bung and gently shake to fully dissolve and incorporate the honey. This is also an important aeration (introducing oxygen) step.
Alternatively, you can make the must in a pot and stove top- do not boil, just warm enough to dissolve honey.
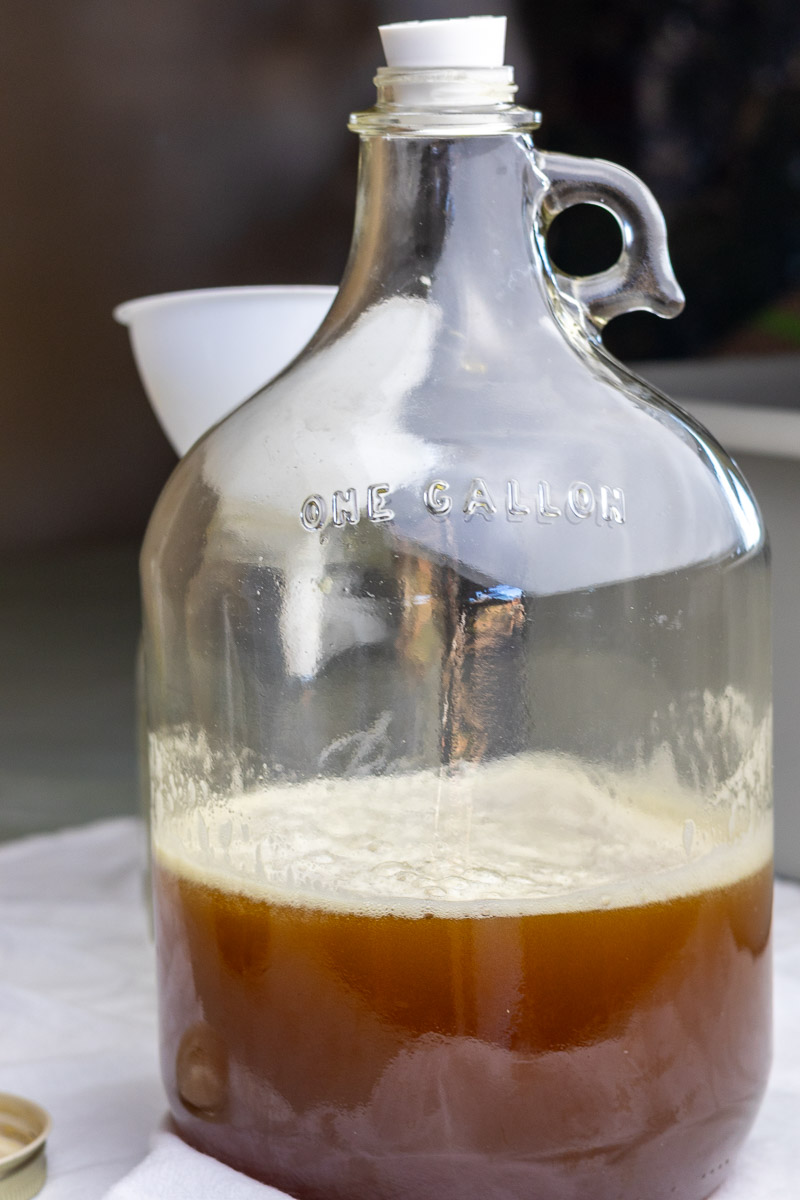
Remove the bung and top off the fermenter with additional cool water, filling to just below the one-gallon mark to leave a small amount of headspace for foaming. Shake one more time to evenly mix.
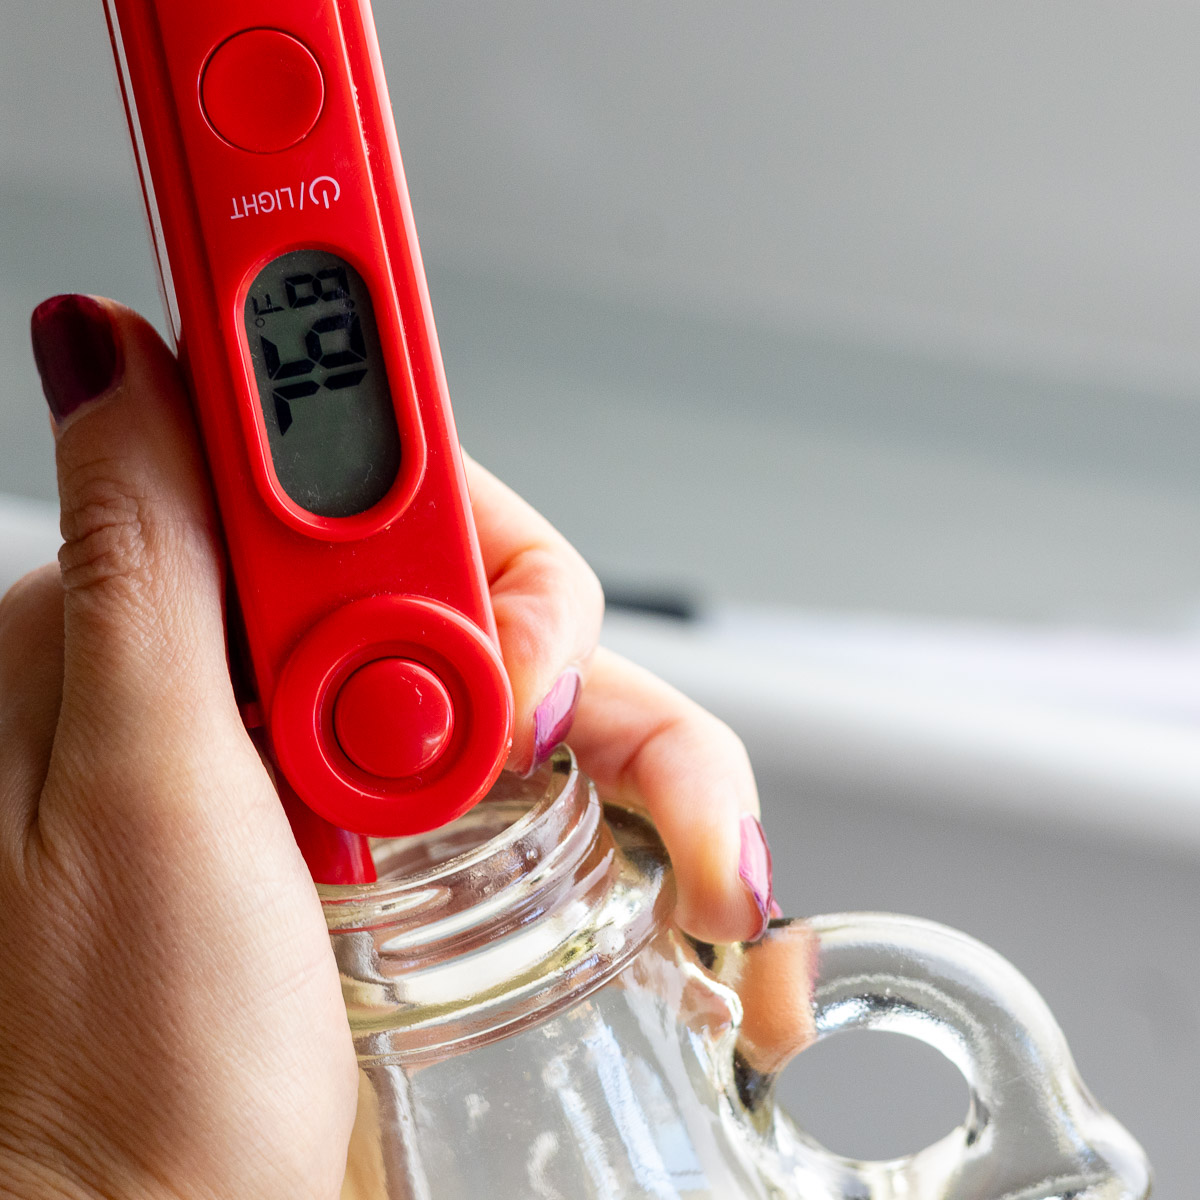
At this point, you may want to take the temperature of the must, ensuring it is under 80°F is 26.7°C.
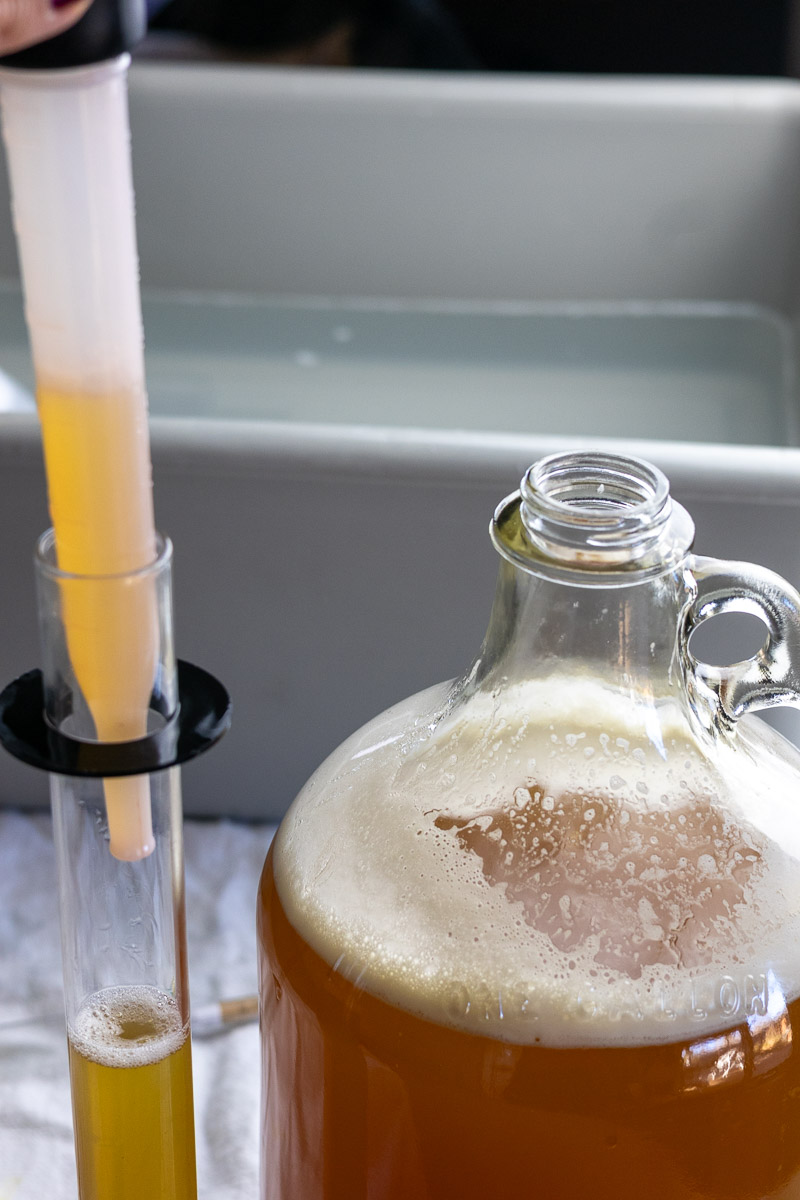
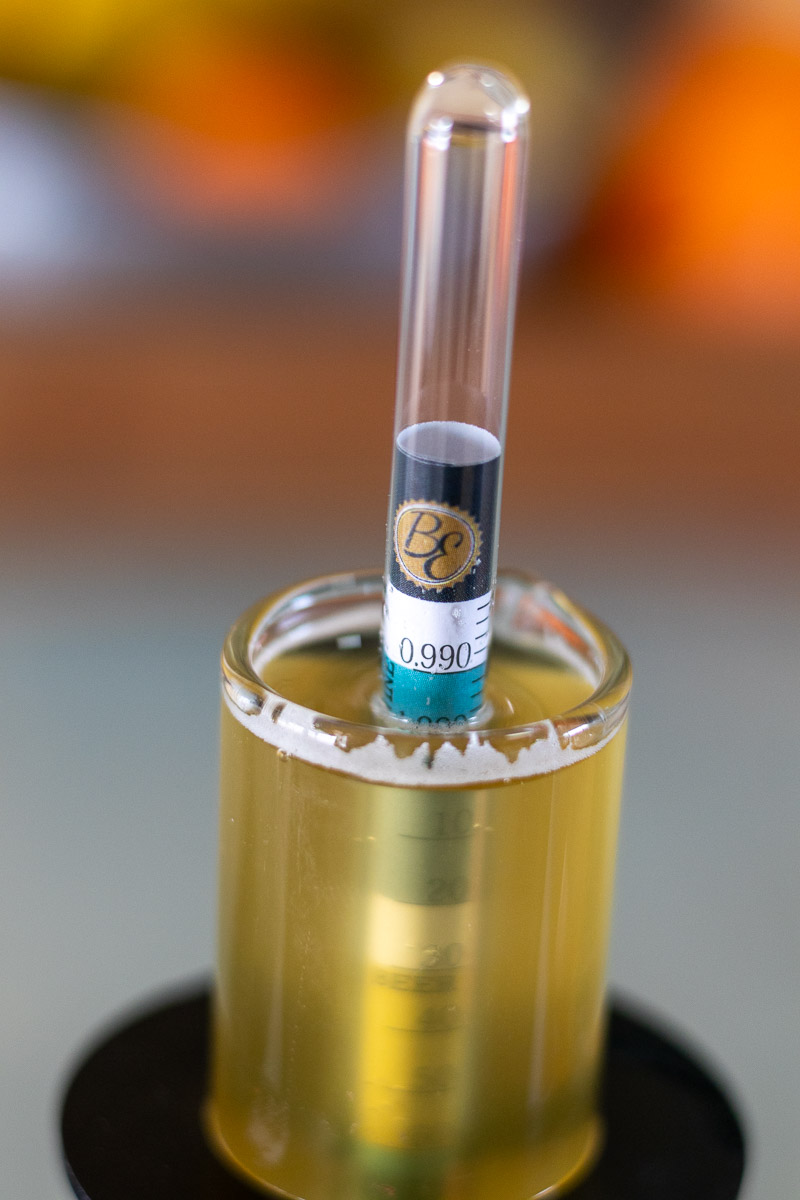
Using a hydrometer, take an original gravity reading and record it on a label or in a notebook.
Watch this for more information on how to learn to use a hydrometer.
Pitch the Yeast and Seal
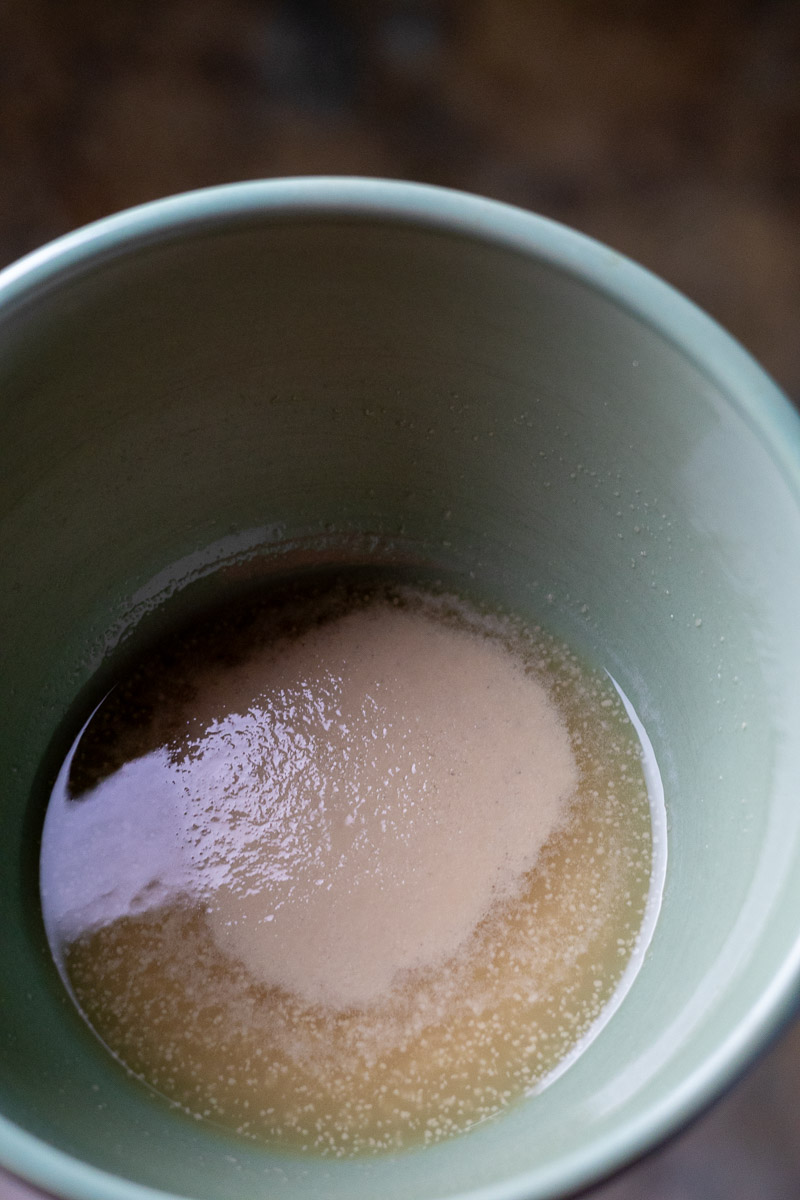
Add the yeast directly to the must. You may activate the yeast beforehand in a small amount of water if desired. If using yeast nutrient, add it at this stage.
Secure the bung and attach the airlock. Fill the airlock with sanitizing solution or a neutral spirit. Water will also work, but during fruit fly season it is safer to use sanitizer or alcohol.
Ferment
Place the fermenter in a dark area with a stable temperature. Fermentation typically takes 4–8 weeks, depending on ambient room temperature and whether nutrients were used.
You may take gravity readings every couple of weeks to monitor progress. Make sure to keep the hydrometer and cylinder squeaky clean! (I tend to use hot soapy water in between brew and bottling days)

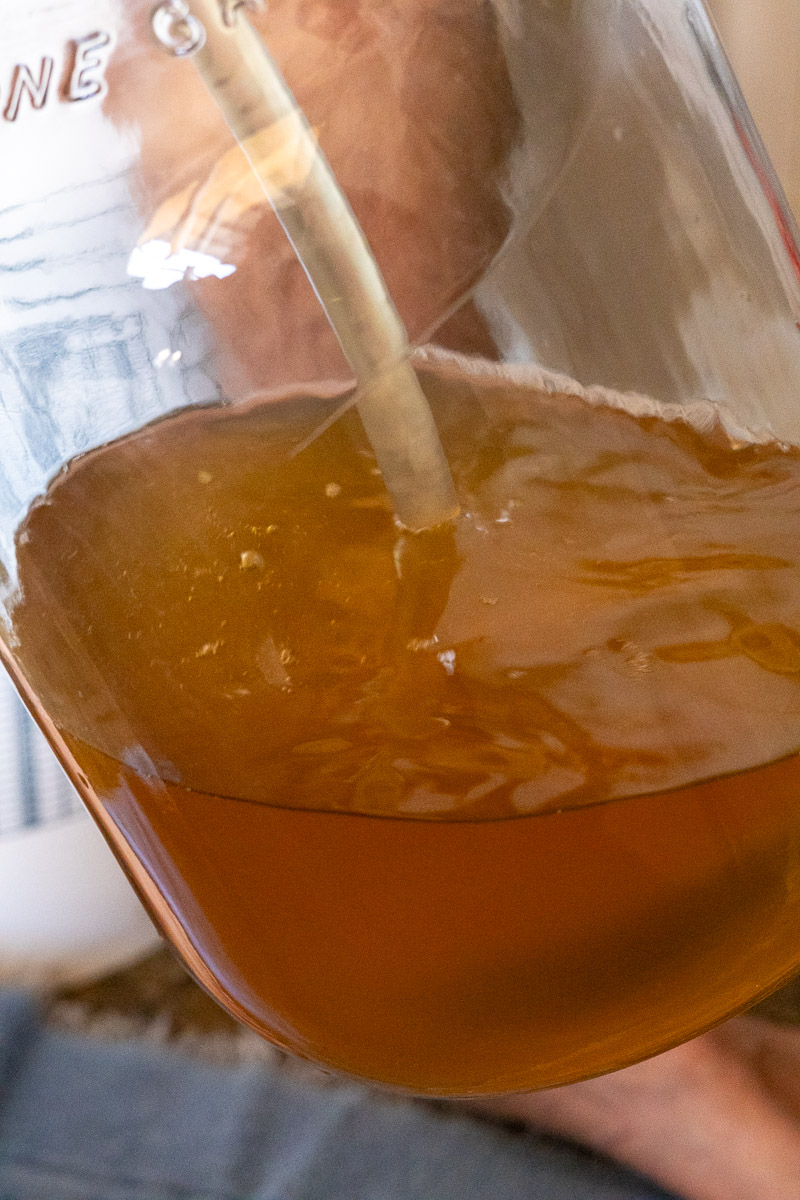
Rack and Rest
Fermentation is complete when the gravity reaches 1.000 or below and the mead begins to clear.
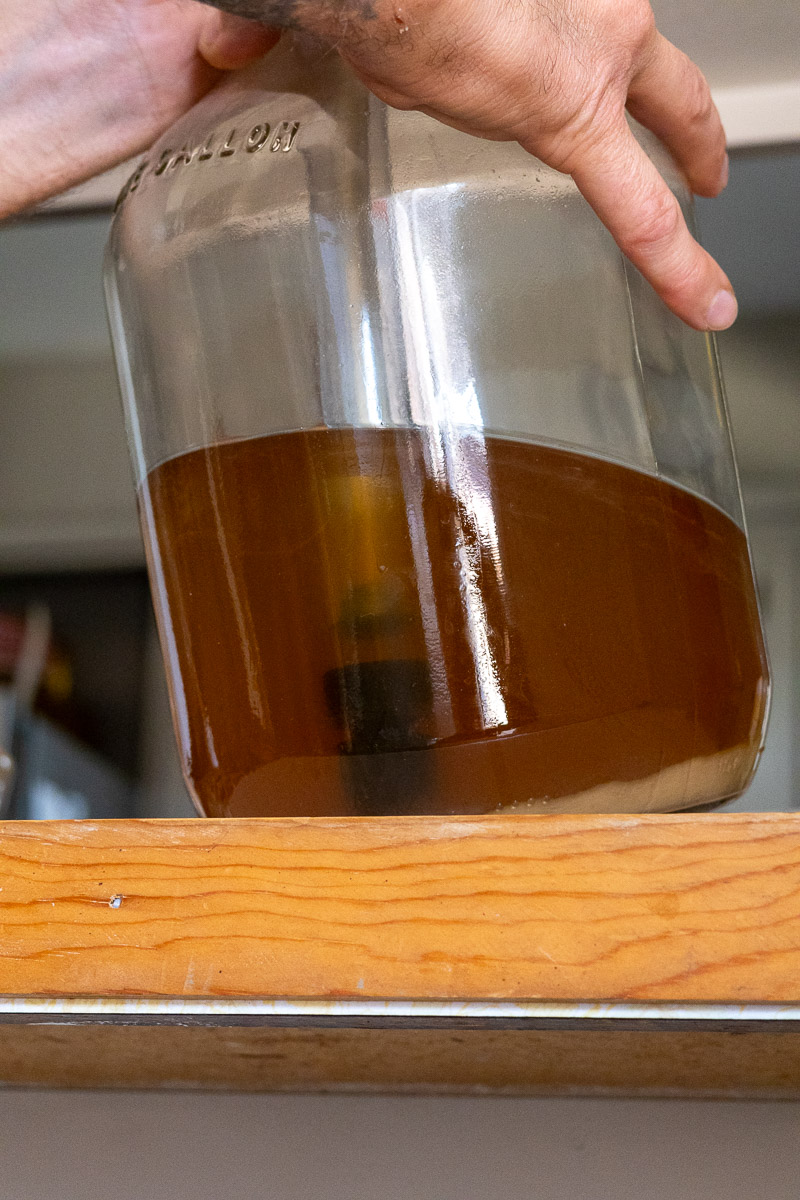
At this point, make a new batch of sanitizing solution and sanitize your new fermenter and any equipment you will use. Rack the mead into the clean fermenter, leaving the sediment behind. Make sure the new fermenter is lower than the primary carboy so gravity can do its work.
Allow the mead to rest for 2 to 8 weeks before bottling. The longer it rests, the better. This period helps excess carbon dioxide escape and allows more sediment to settle.
You can also drink it straight from the fermenter if you like. It will taste young, a bit harsh and funky, but aging will improve the flavor. Either way, you made mead!
Bottle
Sanitize your bottles and equipment, then bottle your mead and remember to label them.
You can drink it young or let it age. Try saving at least one bottle for a year to see how the flavor develops.
Calculate Alcohol Content
To estimate alcohol by volume (ABV), use the following formula:
(Original Gravity − Final Gravity) × 131.25 = ABV%
What to Expect: A Beginner’s Timeline
Day 1
Brewing day. You have mixed the ingredients in the fermenter and MAY start to see fermentation bubbles in the fermenter starting by the end of the day. Do not be alarmed if you have not yet, fermentation could take up to 24 hours.
Week 1-3
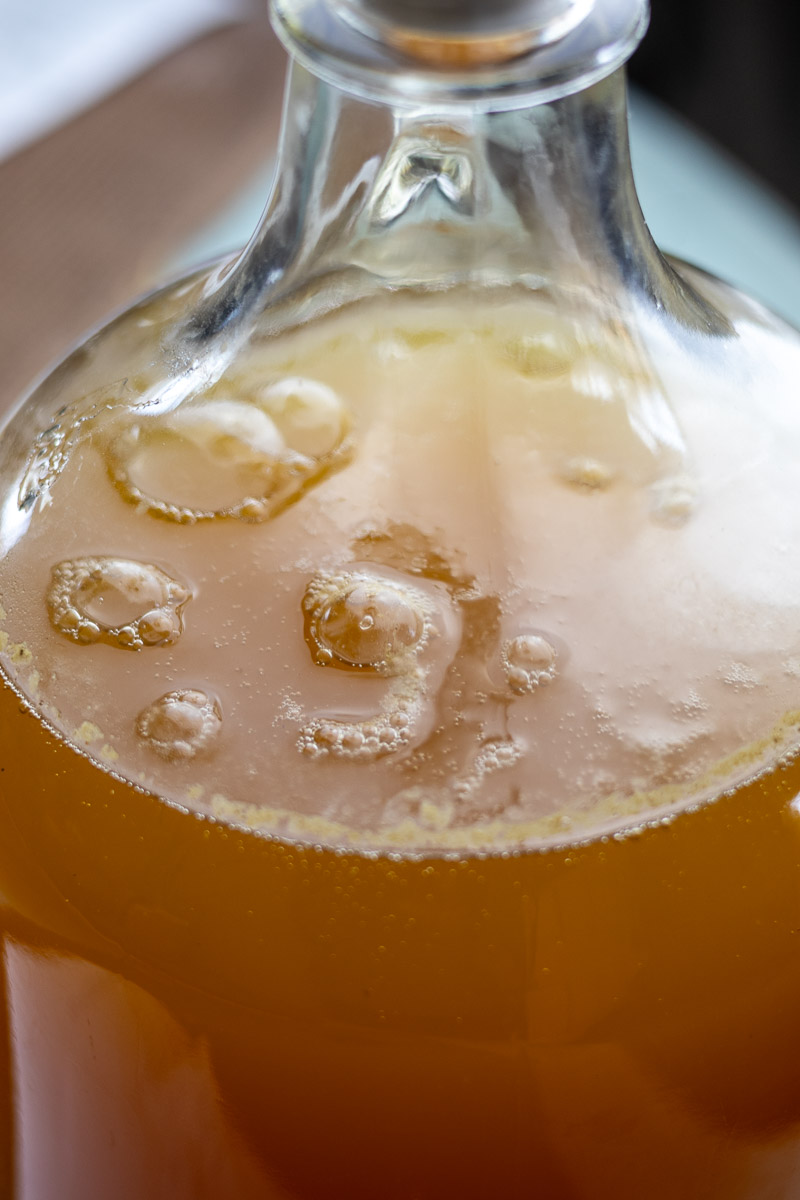
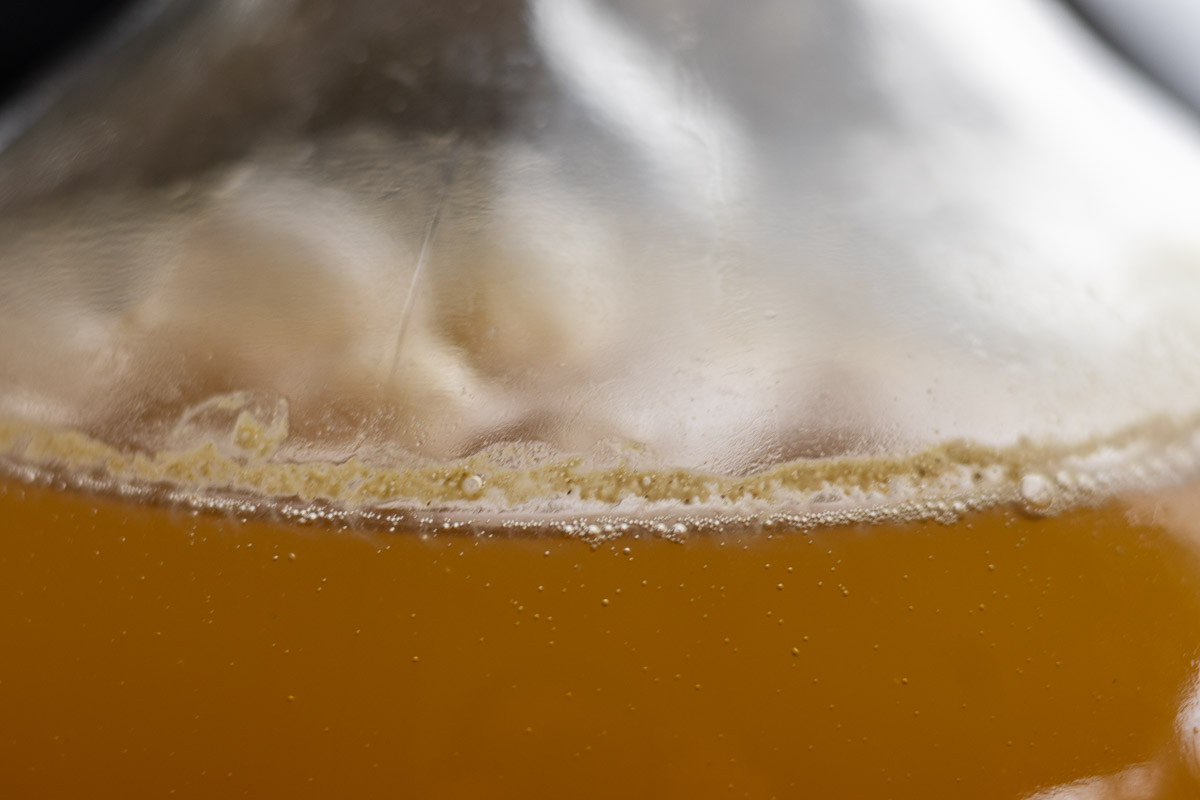
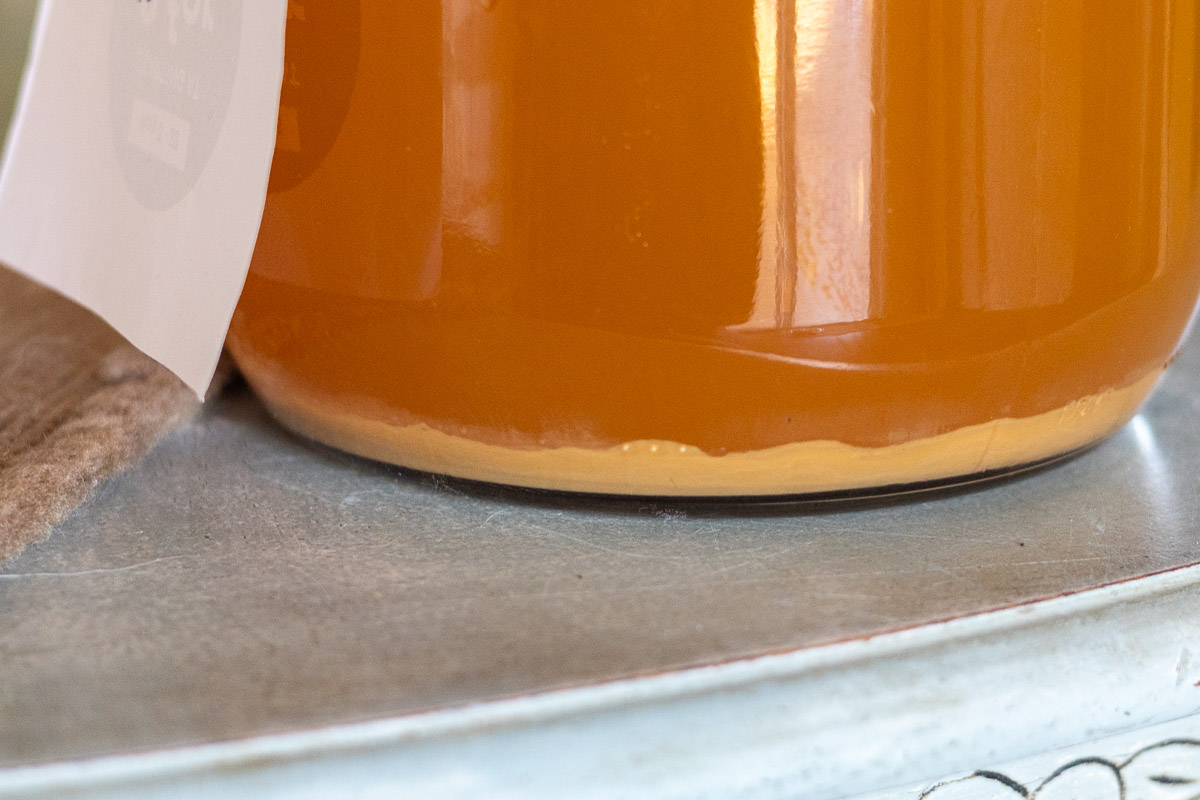
Fermentation will be underway, it may be vigorous or it may be more gentle. Your airlock will start to show lots of bubble activity. You may start to see foam (krausen) and some lees will start to settle on the bottom.
Week 3-6
The airlock will have slowed down significantly by now, and It will be more obvious the mead is starting to clear. A thick lees layer will be at the bottom. If you take a gravity reading at this point, it will have lowered, but may or may not be completely done.
Week 7-9
Mead will be a lot clearer at this point. Take a gravity reading, it may be done (1.000 or below ex: .996) but above, plan on taking a second gravity at least a week apart until it goes to 1.000.
Week 10-1 Year
At this point you may choose to continue to age in the carboy for a few more weeks/months before bottling, or just move on to drinking!
Can I Sweeten this Mead 1-Gallon Mead Recipe?
Yes, but it complicates things a bit.
As you’ve learned, yeast consume sugar and convert it into alcohol and gases. If you sweeten a finished mead with more fermentable sugar, fermentation can (and very likely will) start again unless the yeast activity is stopped. If you bottle at this point, pressure will build from trapped gases and lead to bottle bombs — no bueno.
The Easiest & Safest Option (Recommended for Beginners)
Sweeten to taste when serving
I recommend keeping this 1-gallon mead recipe dry and bottling it that way, then sweetening individual glasses to taste when serving. This avoids any risk of renewed fermentation and is how many experienced homebrewers enjoy their mead at home. It also keeps both dry-mead lovers and those who prefer a slightly sweeter mead happy!
More Advanced Options for Sweetening
Pasteurize the mead
Gentle heat can be used to kill off yeast after sweetening. This is my preferred method for batch sweetening, but it does require additional steps and care. I’ll be sharing a separate, detailed post on how to sweeten and pasteurize mead safely.
Use Stabilizers
After fermentation is fully complete, stabilizers such as potassium sorbate & potassium metabisulfite can be used before sweetening to help prevent renewed fermentation. This method is easy and effective but does involve chemical additives. This is how commercial wineries and many meaderies stabilize their wines.
Mini Glossary
- Must - When making wine or mead, the mixture of honey, water, and yeast before fermentation begins is called the must. Once fermentation is underway and alcohol is present, it is considered mead.
- Lees - The sediment that settles at the bottom of the fermenter. Lees are mostly dead yeast cells and other fine particles that fall out of suspension during fermentation.
- Bung & airlock - The stopper and “bubbler” that sit on top of the fermenter. Together, they allow fermentation gases to escape while keeping oxygen, fruit flies, and other contaminants out.
- ABV (alcohol by volume) - A percentage that represents how much alcohol is present in your finished mead.
- Racking - The process of transferring your mead from one vessel to another, leaving the lees behind.
- Primary fermentation - The most active phase of fermentation. This is when yeast gets busy and converts sugars from honey into alcohol and carbon dioxide.
- Conditioning phase aka secondary fermentation - After the first racking, in conditioning, the mead clears, flavors mellow, and additional sediment settles out. Little to no active fermentation at this point.
- Specific gravity/gravity reading - A measurement of how much sugar is dissolved in your mead. Taken with a hydrometer, gravity readings help you track fermentation progress and estimate alcohol content.
- Headspace - The empty space between the surface of the mead and the top of the fermenter. After primary fermentation you want as little as possible.
Troubleshooting
My airlock isn't bubbling
A couple common causes for this: Often the airlock isn’t sealed tightly, allowing gas to escape around the bung instead. If you see bubbles rising along the inside of the glass or sediment forming at the bottom, fermentation is happening.
It’s also possible that the most active phase of fermentation has already passed. The only reliable way to know is to take a gravity reading.
My mead smells sulphery
Sulfur or “rotten egg” smells can happen during fermentation, especially early on. This is often caused by yeast stress or limited oxygen at the start.
The good news is that these smells dissipate on their own as the mead degasses and ages.
I see white filmy spots
Small bubbles or patches on the surface can sometimes look alarming but are often harmless. This may be trapped carbon dioxide or kahm yeast, both of which are common and not dangerous.
It is highly unlikely that you will see actual mold.
FAQ
Mead typically takes 4-8 weeks to ferment, depending on temperature, yeast strain, and whether nutrients were added. Nutrients can speed up fermentation, but extra time improves clarity and flavor.
Absolutely! The flavor of the honey will directly impact the final taste, so choose one you enjoy. There are wild yeast in raw honey, but commercial yeast will overpower them.
Using wild yeast is totally valid and produces unique flavors, but it is less predictable. This recipe is designed for consistent results with commercial wine yeast.
Related


Traditional Mead
Mead is an easy ferment anyone can make. Using just three ingredients, honey, water, and yeast, this beginner-friendly 1-gallon mead recipe walks you through simple, modern brewing practices step by step.
Ingredients
- 2.5 lb honey
- Filtered water (to fill 1 gallon)
- ½ of 1 packet wine yeast (such as Lalvin EC-1118)
- Yeast nutrient (optional)
Instructions
- Sanitize all equipment that will come into contact with the mead.
- Add honey to a 1 gallon fermenter.
- Add lukewarm water halfway and shake to dissolve the honey.
- Top off with cool water to just below the 1 gallon mark.
- Take an original gravity reading using a hydrometer.
- Pitch yeast directly into the must. Add nutrient if using.
- Attach bung and airlock.
- Ferment in a dark place at stable room temperature for 4 to 8 weeks.
- When gravity reaches 1.000 or below, rack into a clean fermenter.
- Rest 2 to 8 additional weeks to degas and allow more sediment to fall out.
- Bottle, age, and drink! Save at least one bottle for a year if possible.
Notes
- This recipe finishes dry at approximately 11 to 12 percent ABV.
- Sweeten individual glasses at serving for the safest beginner option.
- Fermentation time varies depending on temperature and whether nutrients are used.
Comments
No Comments