You know what I love even more than the deer my husband brings home? Quick, effortless dinners made with that meat. In this post, I’ll walk you through canning venison raw pack style — the easiest, fastest way to pressure can venison (or canned deer meat) for delicious, ready-to-use meals.
There are so many reasons why canning some of your venison is a smart idea — and not just for quick weeknight meals. If the power ever goes out and you lose what’s in the freezer, having jars of canned venison on your pantry shelf means your hard-earned deer meat is still safe and ready to use.
There’s nothing better than using our wild game in simple meals. Tender canned venison with my homemade juniper caraway sauerkraut is incredible, and it’s perfect served over a bowl of handmade nettles pasta.
Jump to:
Safety First: Pressure Canning Venison
I’m not always a rule follower, but when it comes to preserving meat or other low acid foods, I stick to USDA guidelines. If you want the full low-down on pressure canning venison, check out this official USDA guide on canning venison. My goal with this post is to expand on this guide and answer any questions that are not clear.
If you’re new to pressure canners, here’s a great overview on how to use a pressure canner to get started. I also like this video on how to use a pressure canner.
What You'll Need
- Pressure canner and tools
- Trimmed venison chunks
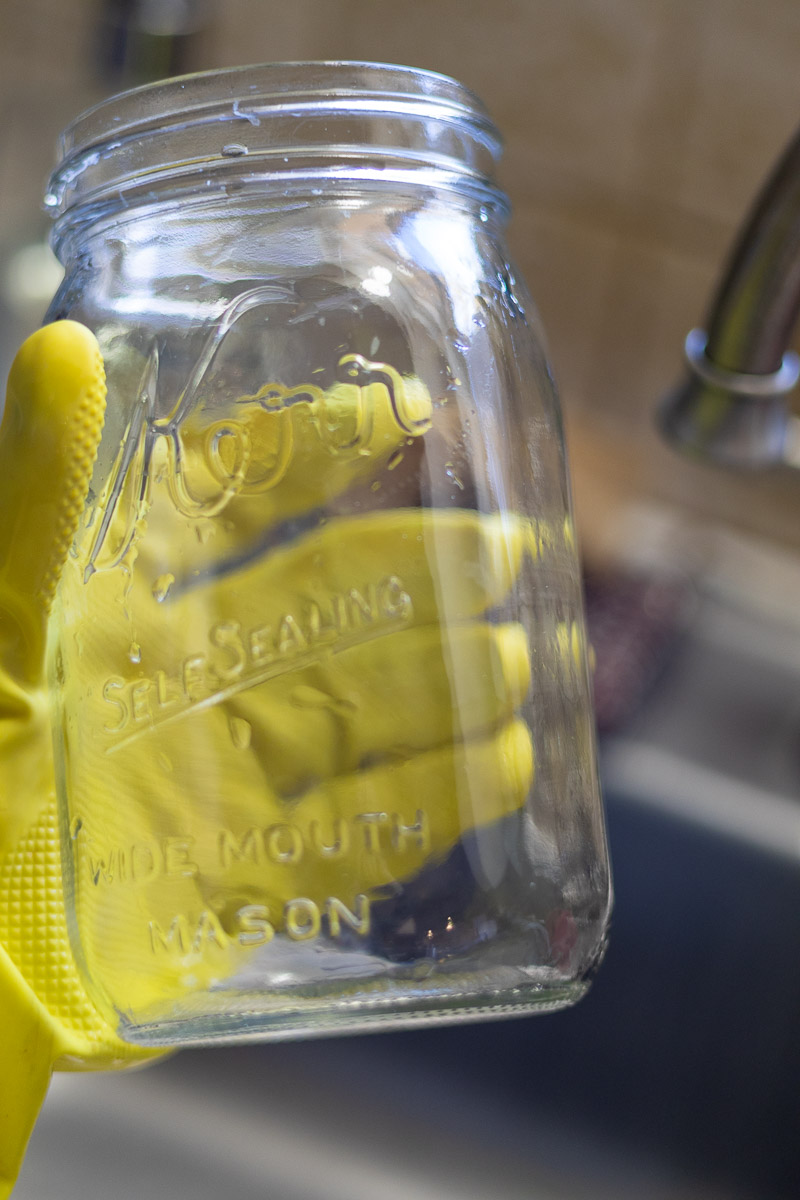
- Mason jars - Either pints or quarts are best for this.
- Lids and rings that fit your mason jars - Regular or wide mouth jars and lids work just fine for this project.
- Salt (optional) - Canning salt will prevent any cloudiness. Just don't use an iodized salt.
- Vinegar (optional) - Plain distilled white vinegar is great for adding to the canner to prevent hard water stains on jars and also used for wiping rims.
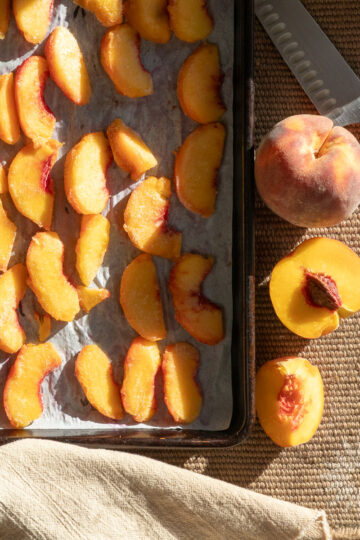
Preparing the Venison
Trim any excess fat or silver skin from the venison and cut it into manageable chunks or strips, whichever you prefer.
Trimming also helps reduce some of the “gamey” flavor. The USDA guide recommends a salt soak before canning to remove a stronger game taste, but I don’t have personal experience with this. I’ve also heard it can make the meat TOO salty. If you’ve tried it, or something similar, let me know in the comments!
If your venison was processed by a butcher, the stew cuts should already be trimmed and ready to go. Just take a quick look to see if anything extra needs to be removed.

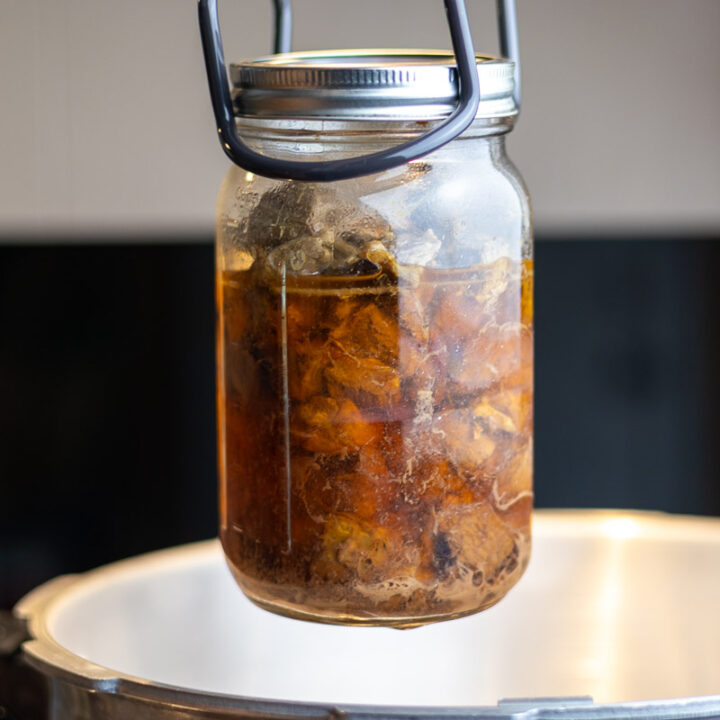
How to Pressure Can Venison: Raw Pack Method
Step 1: Prep Jars and Canner
Wash jars, lids, and rings with hot soapy water and set them aside. You can fit roughly one pound of meat per pint jar, so grab enough jars for the amount of meat you plan to can, plus a couple extra just in case.
Fill your canner with water according to the manufacturer’s directions. There is no need to warm the water since we are cold packing. I like to add a capful of vinegar to the water to prevent hard water stains on the jars.
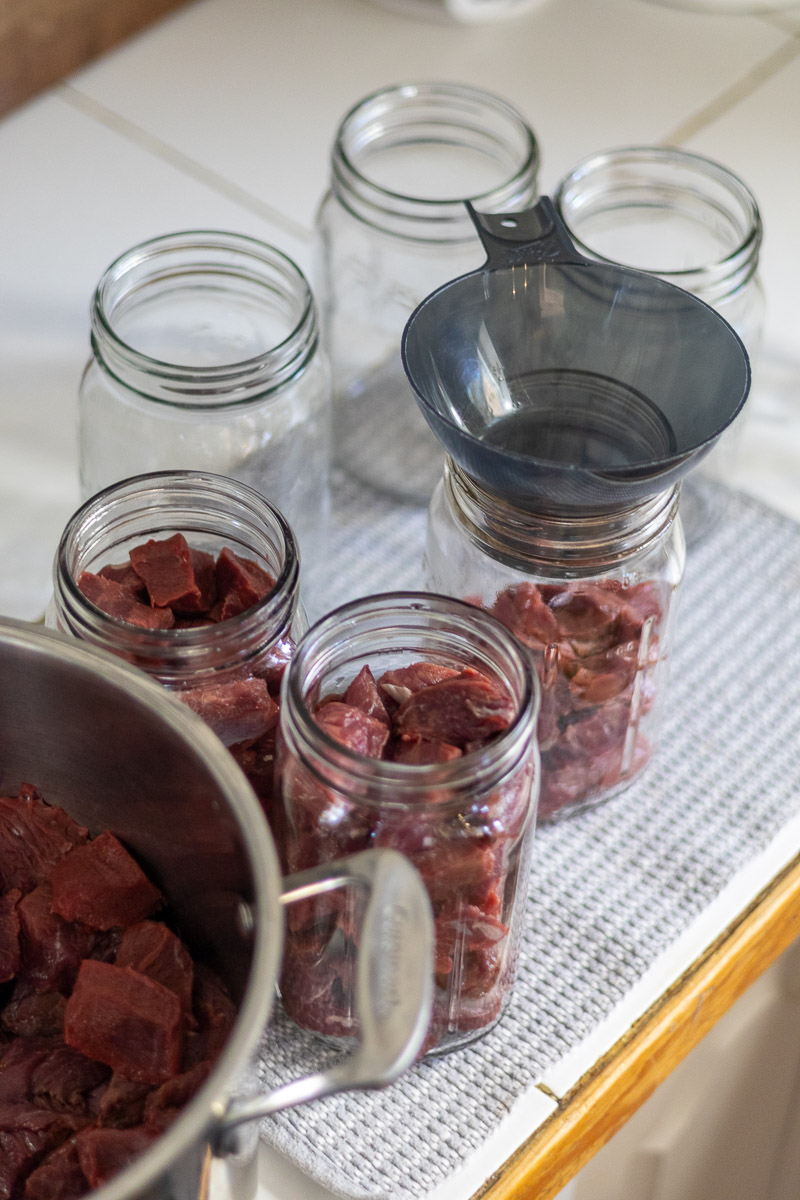
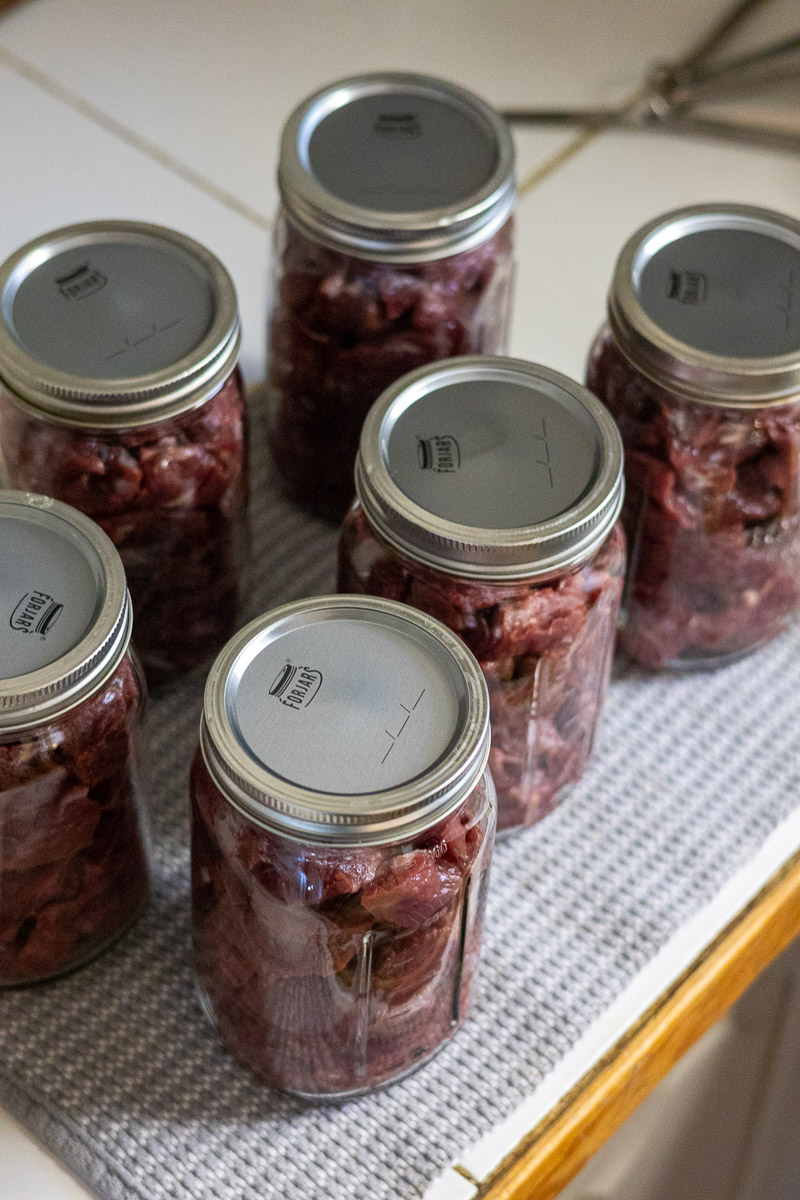
Step 2: Pack Jars with Prepared Deer Meat
Pack the venison loosely, so the pieces sit close together but are not forced or jammed into the jar. Leave 1 inch of headspace at the top.
You can optionally add up to 1 teaspoon of salt per pint or 2 teaspoons per quart. Salt does not affect preservation, so it is completely up to you.
No need to add liquid- the meat will create its own juices as it cooking in the pressure canner.
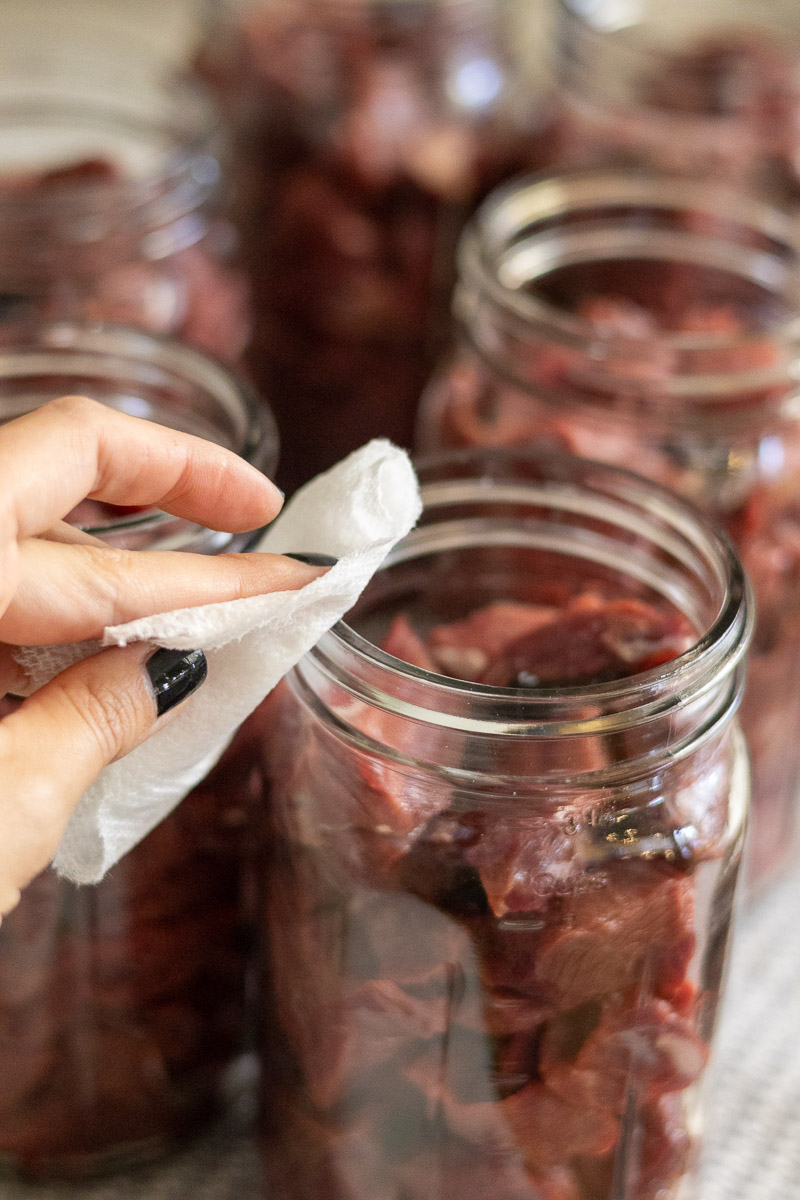
Step 3: Wipe Rims
Use vinegar or warm water on a paper towel to wipe the rims of the jars, making sure there is no fat or debris that could interfere with the lid sealing.
Step 4: Place Lids and Rings
Place clean lids on the jars and tighten the rings until fingertip tight. Not too tight, but not too loose. Place the jars in the pressure canner.
Step 5: Process
Close the lid on the pressure canner and turn on the heat without the pressure regulator. Let the canner vent for ten minutes — you want to see a steady stream of steam the whole time.
After ten minutes, place the weight back on (pressure regulator) and let the pressure rise to the level required for your elevation. The guide for canning meat, strips, cubes or chunks has a chart to refer to for this.
Once you reach the correct pressure, set your timer and keep it there for the full processing time: 75 minutes for pints and 90 minutes for quarts.
If your pressure falls below the proper level, raise it back up and start the processing time over. Safety comes first!

Step 6: Cool Down
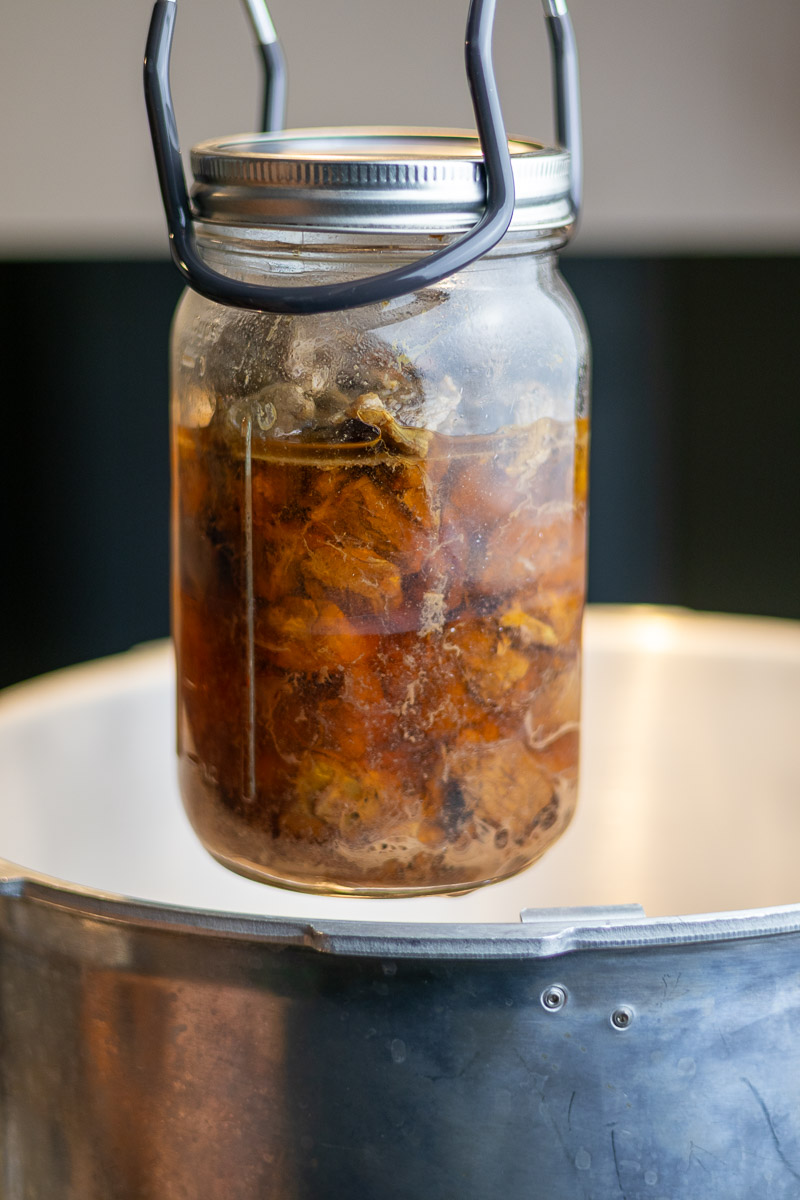
When the processing time is up, turn off the heat and let the canner come down to zero pressure naturally. Once it reaches zero, remove the weight and wait another 5–10 minutes. Then carefully remove the lid, opening it away from you so the steam escapes in the opposite direction.
Step 7: Remove and Check
Use a jar lifter to remove the jars and set them on a towel. Let them cool for 24 hours, then check to see if any lids failed to seal.
Step 8: Store in Pantry
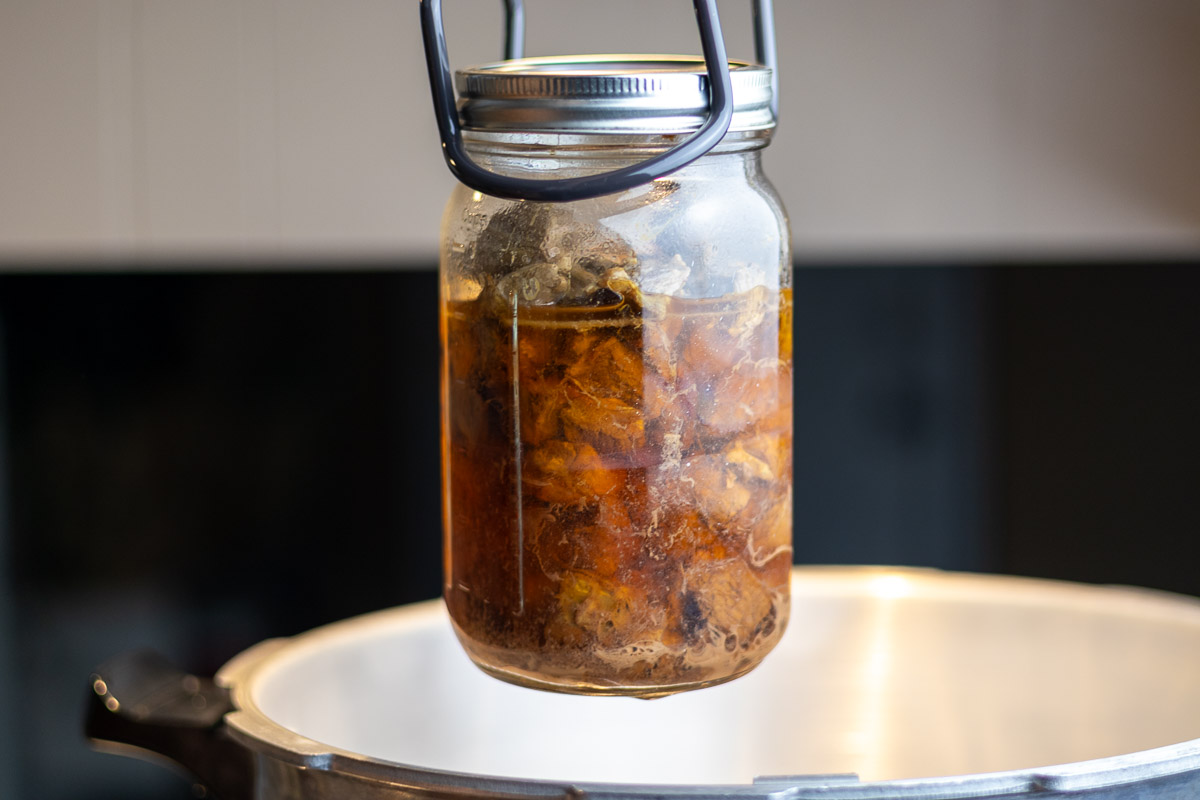
Remove rings, wash and label the jars, then store them in a cool pantry for up to 18 months. The meat will last longer than that, but this is the best time for quality and flavor.
With this method, the liquid may not completely cover the meat, and that is fine. The meat over the liquid may darken slightly over time, but it will not affect flavor or safety.
Any jars that did not seal should be placed in the refrigerator and used within a week.
Ways to Use Canned Venison
- Soups & Stews - Cook everything else first, then toss in right at the end.
- Tacos or Chili - Shred the meat right out of the jar and add seasoning like you normally would.
- Casserole or Pot Pies - Mix with veggies and a creamy sauce for an easy filling.
FAQ
When canning venison raw pack style, you can fit about 1 pound of venison in a pint jar and around 2 pounds in a quart jar.
Nope! Venison is a low acid food and can only be safely canned in a pressure canner. Using a pressure canner only takes a couple hours and gives peace of mind because it reaches the high temperatures needed to destroy botulism spores, something a water bath cannot do.
Keep you and your family safe by pressure canning your venison meat.
Related

Canned Venison: Simple Raw-Pack Instructions
In this post, I’ll walk you through canning venison raw pack style — the easiest, fastest way to pressure can venison (or canned deer meat) for delicious, ready-to-use meals.
Ingredients
- Pressure canner and tools
- Paper towels
- Trimmed venison chunks
- Mason jars with lids and rings
- Optional: 1 teaspoon salt per pint or 2 teaspoon per quart
- Optional: 1 capful vinegar (for canner water)
Instructions
- Prep Jars and Canner Wash jars, lids, and rings with hot soapy water and set aside. Fill the canner with water according to manufacturer’s directions. No need to preheat water. Optionally add a capful of vinegar to prevent hard water stains.
- Prepare Venison Trim any excess fat or silverskin from the venison. Cut into manageable chunks or strips. If the venison is butchered stew cuts, just double-check that it’s trimmed.
- Pack Jars Pack venison loosely so pieces sit close together but are not forced or jammed. Leave 1 inch of headspace at the top. Optionally add salt.
- Wipe Rims Use vinegar or warm water on a paper towel to clean the jar rims.
- Place Lids and Rings Place lids on jars and tighten rings fingertip tight. Place jars in the canner.
- Process Close the lid and heat the canner without the pressure regulator for 10 minutes to vent steam. Place the weight on the canner and allow pressure to rise to the level required for your elevation. Process 75 minutes for pints, 90 minutes for quarts. If pressure falls below the proper level, bring it back up and restart the timer.
- Cool Down Turn off the heat and let the canner return to zero pressure naturally. Remove weight, then carefully open the lid away from you. Let jars sit in the canner for an additional 5–10 minutes.
- Remove and Check Use a jar lifter to remove jars and set on a towel. Let cool 24 hours, then check seals.
- Store Wash and label jars. Store in a cool pantry for up to 18 months. Any unsealed jars should be refrigerated and used within a week.
Notes
- On average you can fit 1 lb venison per pint, 2 lbs per quart.


Comments
No Comments